Open Any File with Visual Studio Code on Mac
In my work, I often have to open text files that do not have a file extension. My preferred text editor is Visual Studio Code, but it doesn’t have an option to open extensionless files, which means it doesn’t automatically show up in the Open With menu.
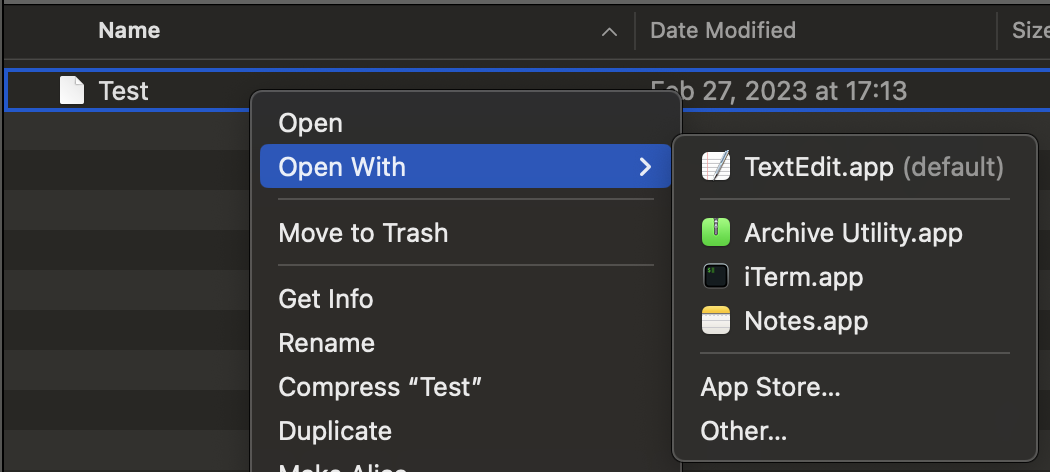
I could open these in Text Edit easily, but Text Edit doesn’t have any of the code highlighting functionality that Visual Studio Code has, which is quite useful to me. And while I could go through the trouble of adding a file extension to the files, that is sometimes more hassle than it’s worth.
macOS Shortcuts to the rescue
Fortunately, Apple has developed their macOS Shortcuts app that makes adding customized actions fairly simple. In this post, I will walk through how to add a shortcut that adds an option to the context menu to open the file in Visual Studio Code.
Open the main Shortcuts Application, and click the + in the toolbar to create a new Shortcut. This will bring up a new window.
The first step we need to take is to set the shortcut up for use as a Quick Action. This is done in the right sidebar. Click the shortcut details icon (the i) at the top to switch tabs. Then check the Quick Actions checkbox, as well as the Finder box below that. The Services checkbox is optional.

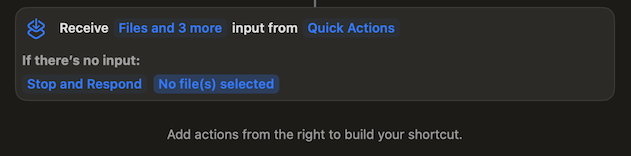
The results of checking those boxes is that a script step will show up in the left side of the window. Click where it says Images and 18 more and uncheck everything except Files, Folders, and Text.
Next, click where it says Continue and change the action to Stop and Respond. Type a message to respond with, something like “No file(s) selected”.
When you’re finished with that step, it should look like this:
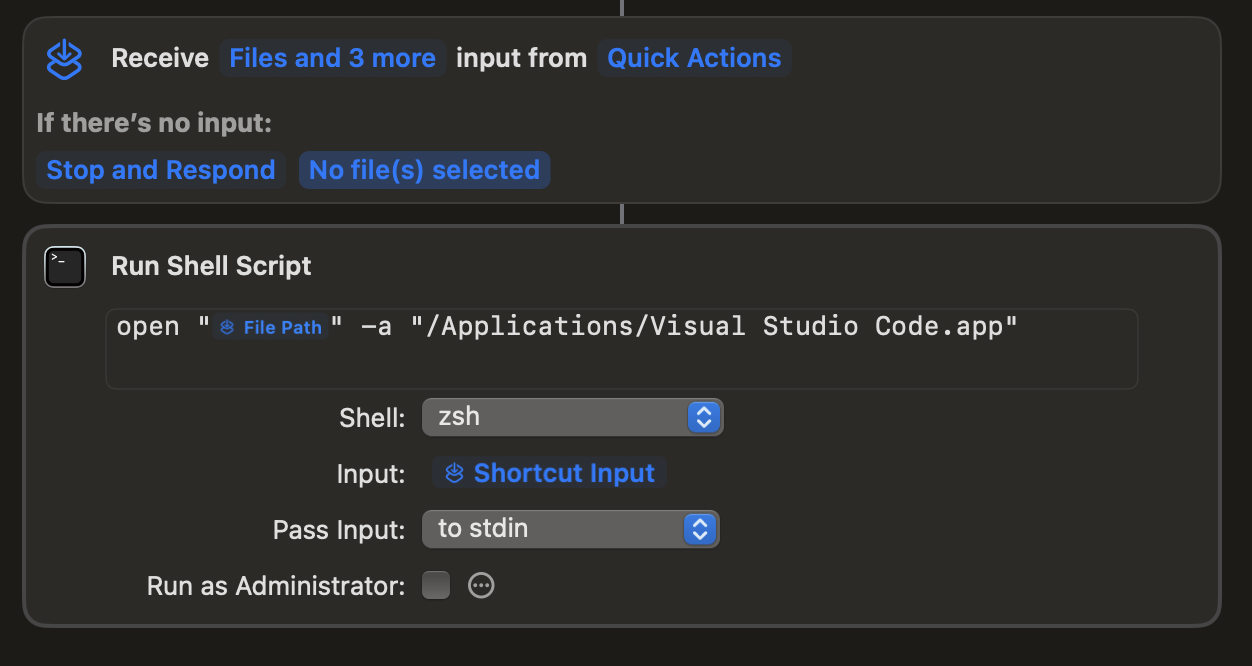
Next, we need to add the action we want to take. In the right sidebar, switch back to the Action Gallery. In the search box type “run” and double click the action called Run Shell Script. Replace the default text with the following code:
1
open "" -a "/Applications/Visual Studio Code.app"
In between the quotes immediately following “open”, right click and select Insert Variable > Shortcut Input. Then click on the “Shortcut Input” item that appeared between the quotes and change the selection to File Path.
The finished product should look like this:
The last step is to give your shortcut a name. Click on the title bar (it likely says “Run Shell Script” right now) and type a new name, something like Open in VS Code. You can also customize the icon and color.
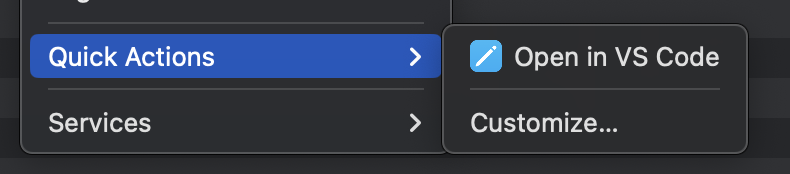
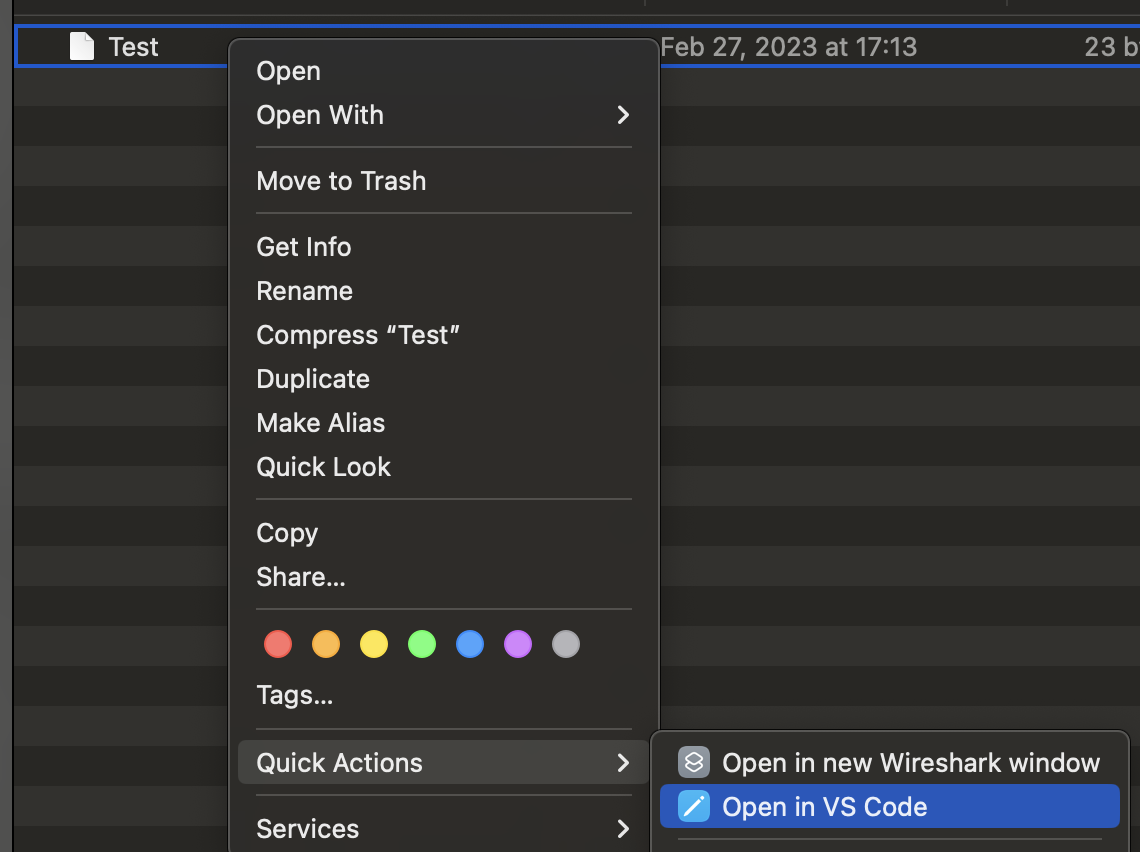
And that’s it! You should now have an item that shows up in the Quick Actions menu when right clicking on any file or folder.